Photographing a coin without hiding its surface
Useful coin photographs reveal both the design and the surface. A single dramatic reflection rarely does both jobs well.
Build a repeatable setup
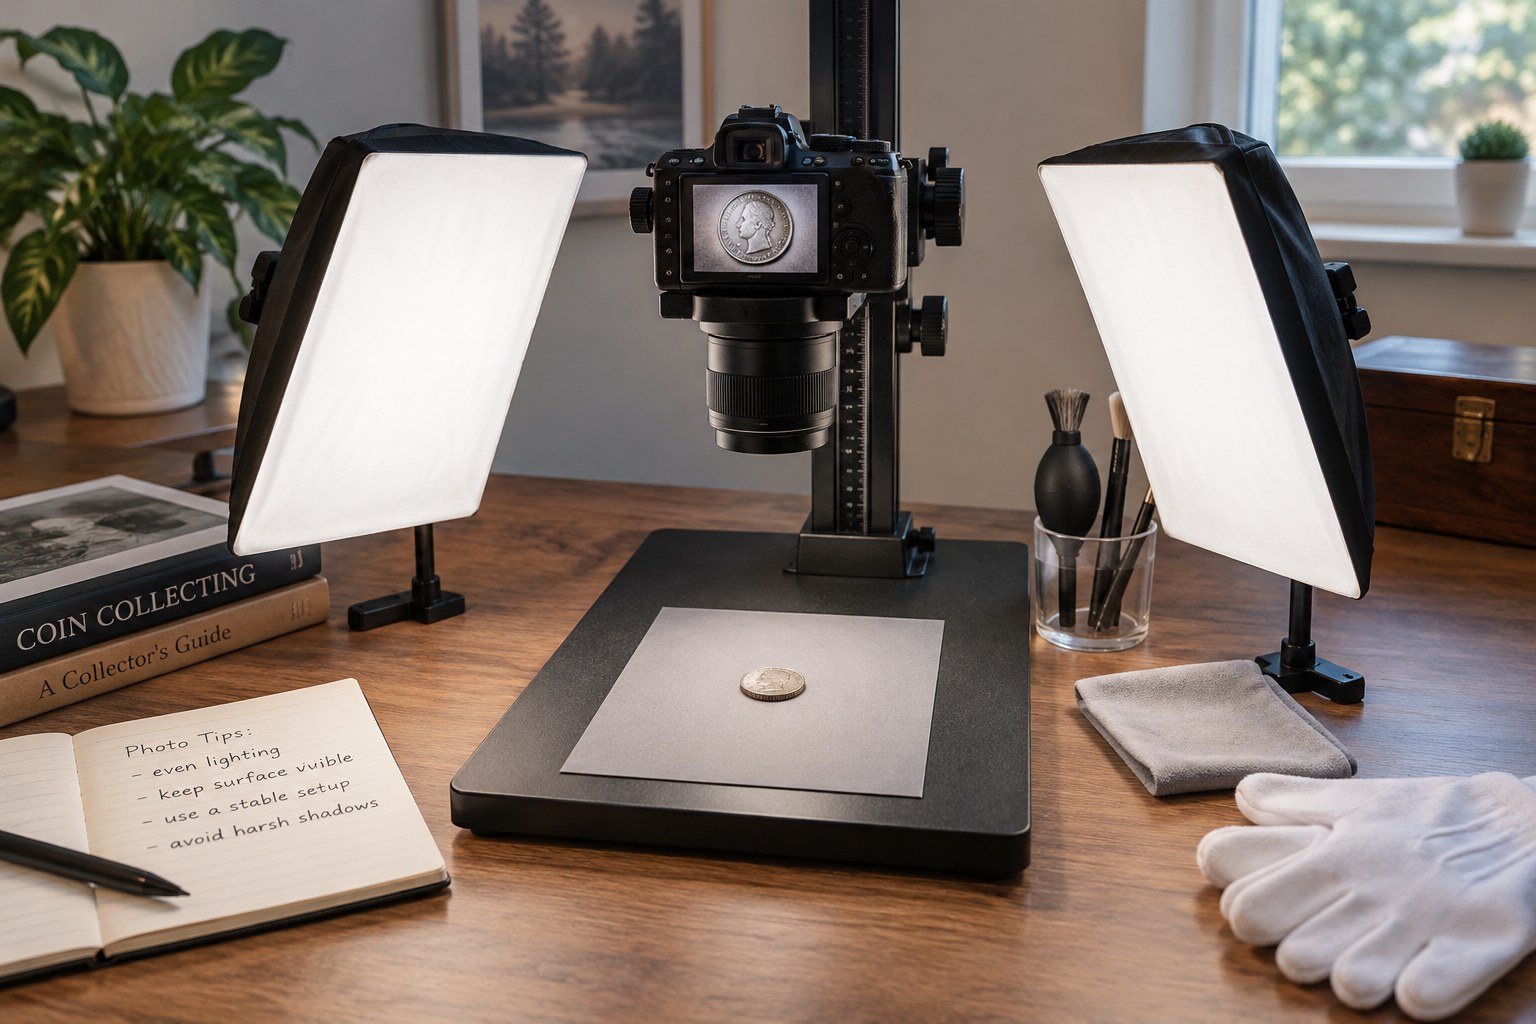
Work over a clear table with a neutral background and a stable camera or phone support. Arrange the coin so you can photograph it without holding it above the floor. If its existing holder is clear enough, begin through the holder and record that fact. The first objective is an accurate view, not a spotless studio appearance.
Keep the camera approximately parallel to the face for the main image. Leave a small border around the whole coin and check that the rim is visible. Focus on the design rather than on a reflective holder. A timer can reduce movement when pressing the shutter, especially when the camera is close enough that a small shake spoils fine lettering.
Use more than one lighting direction
Take a broadly lit image of each face, then add a view with light arriving from another angle. Directional light can reveal scratches or relief that disappear in a flatter image, while very harsh light can make an ordinary surface look dramatically different. Keep the main photographs comparable instead of choosing unrelated lighting simply because each result looks attractive.
Look at the files at full size before moving the coin. If a bright patch covers a date or an important mark, adjust the lamp position and repeat the photograph. Do not compensate by painting over the reflection digitally. For a sale listing, an extra photograph showing the problem area is more useful than an edited image that seems complete but contains reconstructed detail.
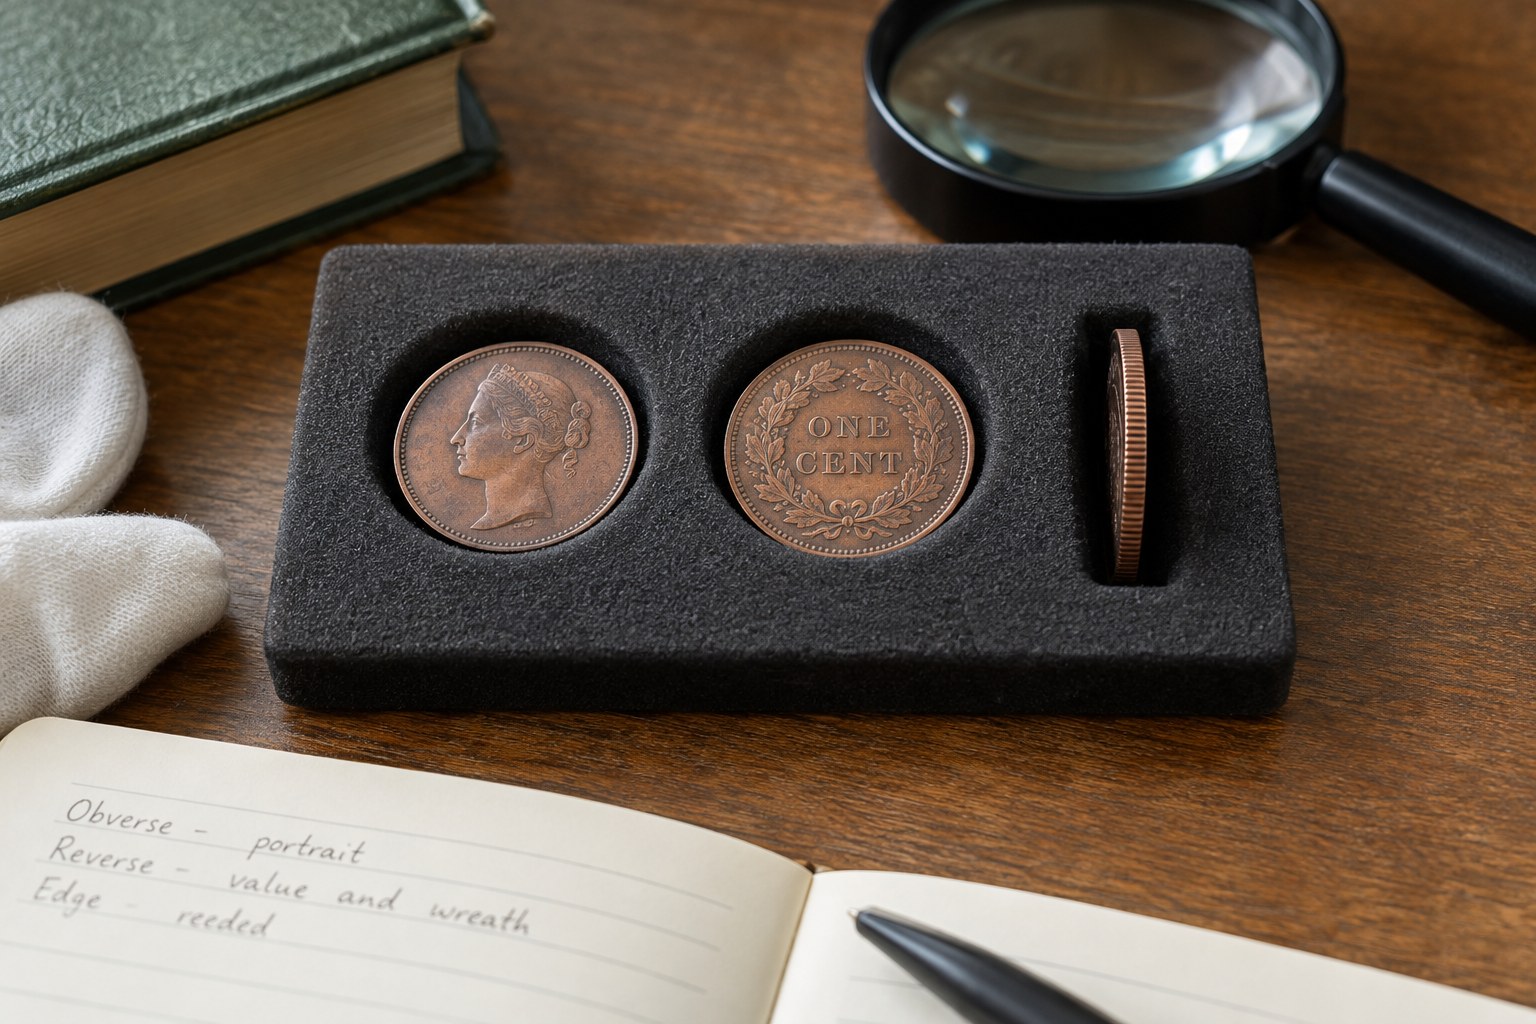
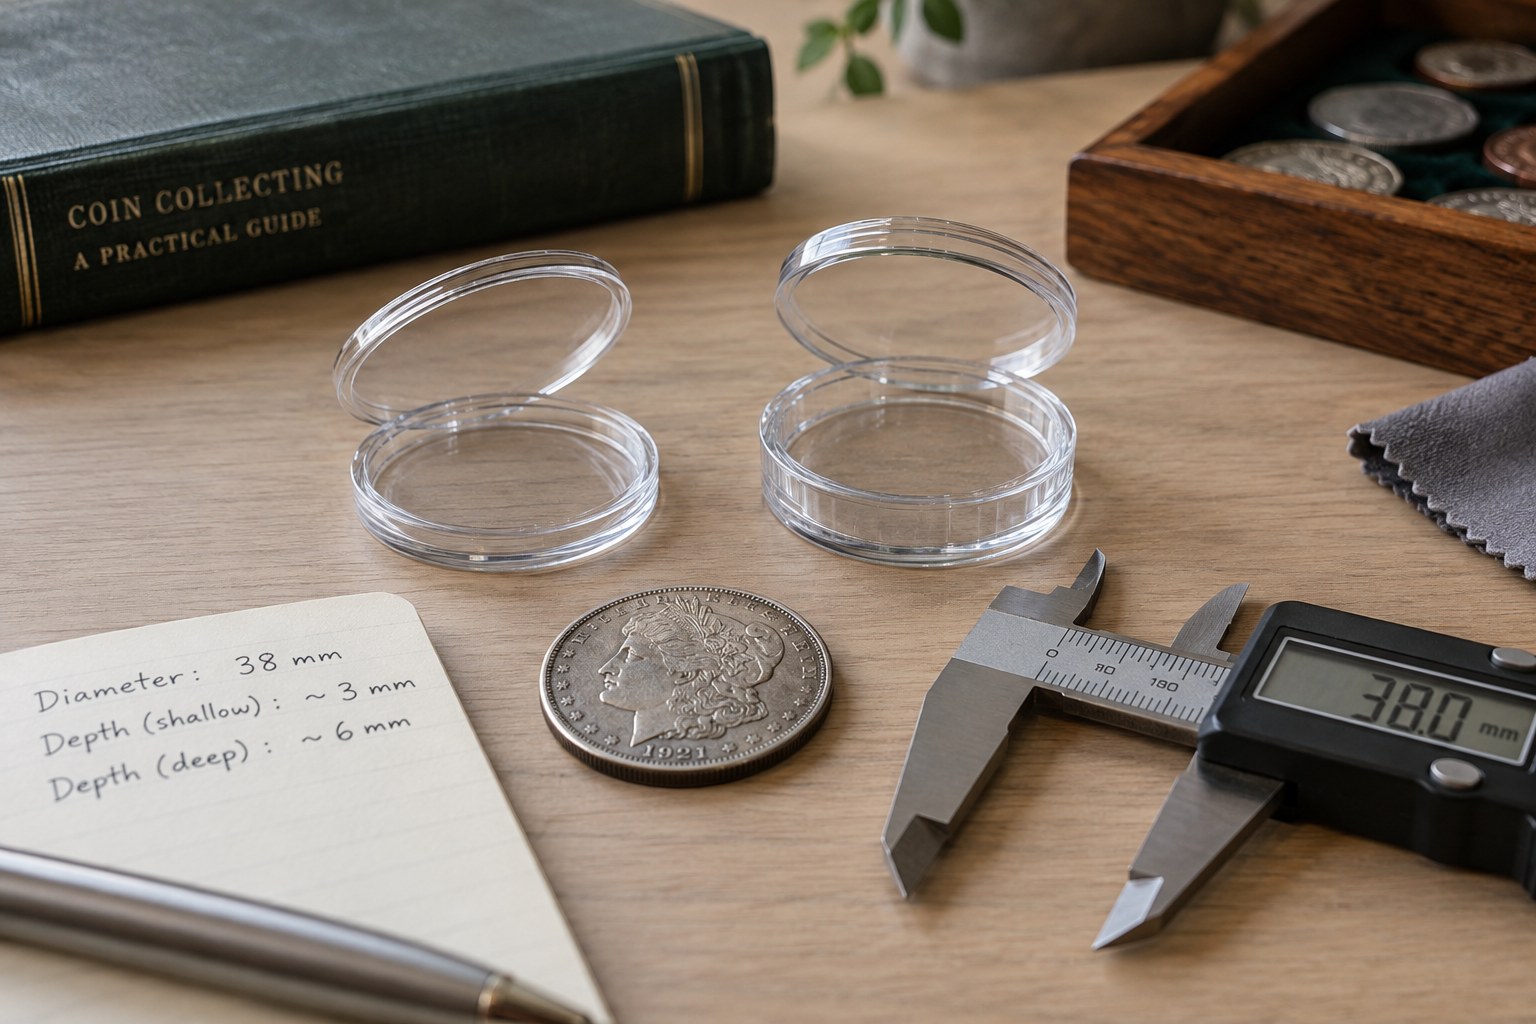
Include an edge view when it can be made safely. Photograph a holder label separately rather than trying to make tiny printed information readable in the same frame as the coin. A reference ruler should be alongside the object, not resting on its surface; state dimensions in the description as well.
Preserve the original files
Cropping and straightening can make a listing easier to read. Heavy sharpening, smoothing and colour filters can also change how wear, marks and toning appear. Save the original file and make any presentation copy separately. If the photograph remains misleading after modest adjustments, retake it under better conditions.
Use filenames that connect the images to the inventory number and view, such as C042-obverse and C042-edge-02. Review the entire set as a buyer would: can you see both faces, the relevant details and the limits of visibility? Add a sentence when colour varies with light or the holder obscures part of the surface. Photographs document appearance; they do not establish authenticity.