Packing a model with projecting parts
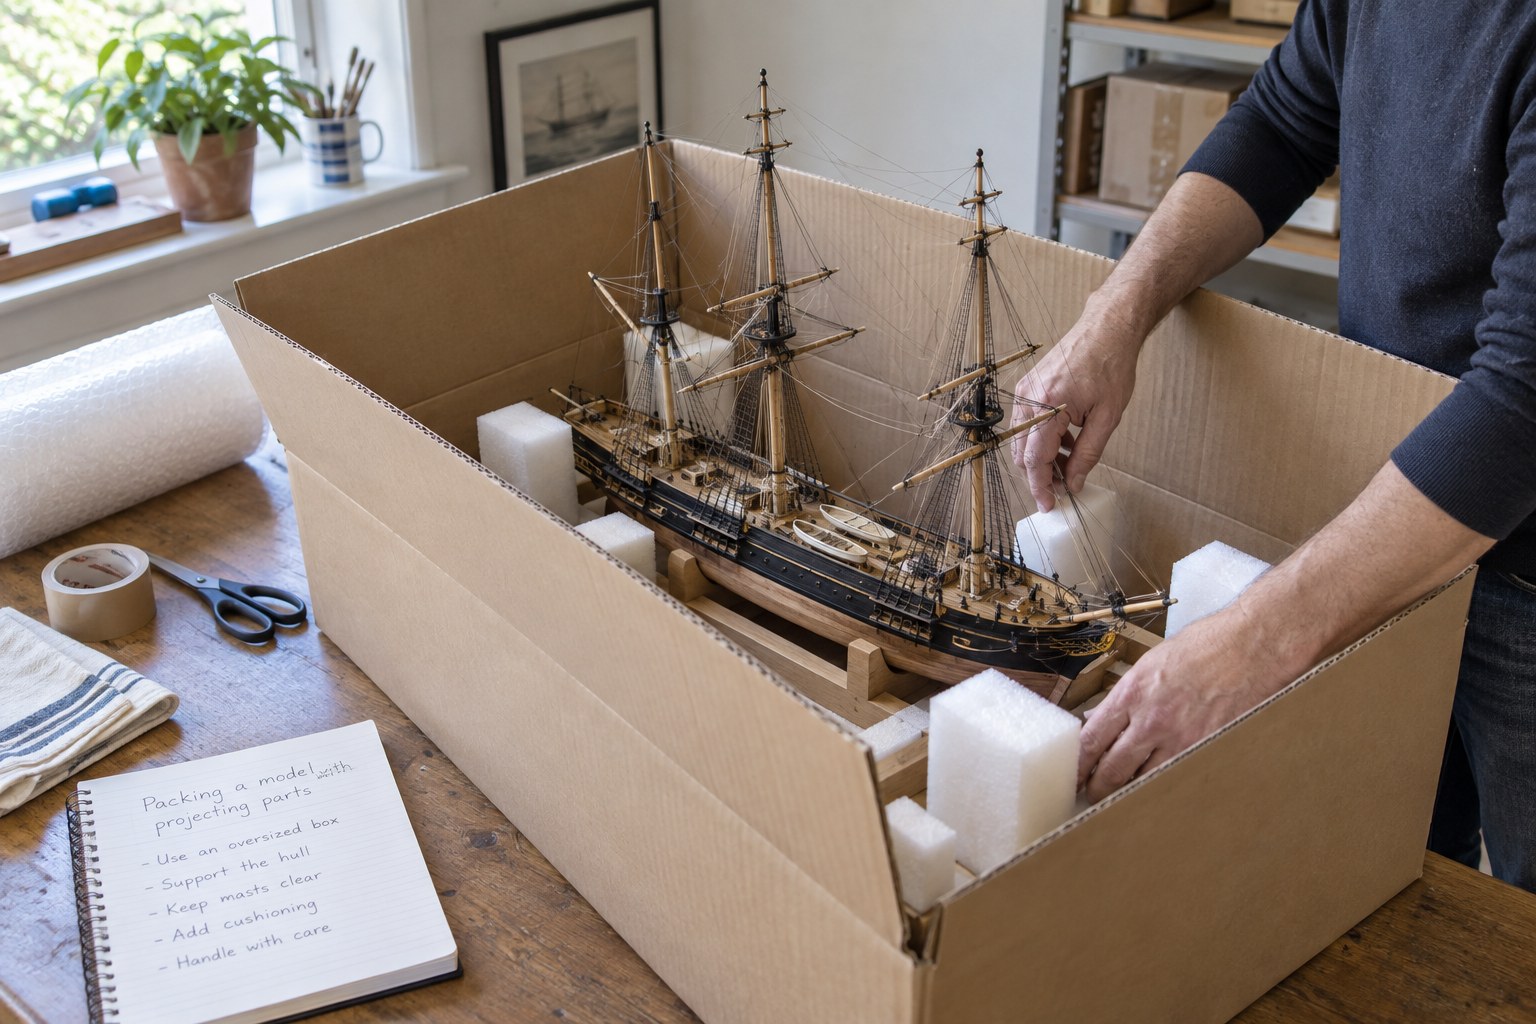
Projecting parts need empty space around them, while the model itself needs controlled support. Good packing distinguishes those two requirements instead of wrapping every surface tightly.
Map the vulnerable areas
Photograph the model and identify mirrors, aerials, wings, handles and other projecting details. Note which parts are documented as removable and which should remain attached. Do not detach an unfamiliar fitting merely because separate packing would be convenient. If the maker provides packing instructions or a suitable original insert, examine those before designing a new arrangement.
Check the condition of the original packaging. A cracked tray, missing restraint or compressed insert may no longer perform its intended role. A model modified with additional details may also no longer fit the original recess. Record any mismatch rather than forcing it into a familiar-looking box.
Support robust areas and protect clearance
Plan where the model's weight will rest and how movement will be limited. Contact should be appropriate to the object and avoid fragile projections. An outer box with plenty of loose filling does not necessarily prevent a heavy model from shifting through it. The internal arrangement must hold the supported body while leaving vulnerable details free from pressure.
Use packing materials suitable for the model's surfaces and the journey. If you cannot identify a safe contact material or support method, consult a specialist packer. Do not test an improvised adhesive, foam or wrapping directly on a valued finish. A packing method used successfully for a robust modern toy is not automatically suitable for an older painted collectible.
Separate and identify permitted loose parts
Where removal is intended and safe, place accessories in individually identified enclosures. Link each to the model's inventory number and include a contents list. Prevent small parts from disappearing into general filler. Keep tools, screws or bases from moving against the main model during transport.
Photograph the sequence as you pack. A few clear images of the support and accessory locations can help the recipient unpack without guessing. Include simple opening instructions and identify any layer that must be removed before lifting the model. Avoid a package that requires cutting blindly beside a projecting part.
Assess the outer package
Choose an outer box with enough room for the protective arrangement and suitable strength for its weight. Check the carrier's current packaging guidance and service limits for the actual shipment. The collectible's own decorative box should be protected as content, not assumed to be the final shipping container.
Before closing, check that the lid does not press on the model or its projections. Confirm the contents list, photographs and destination details. Do not shake a fragile packed model vigorously as a test; if the restraint arrangement is uncertain, reopen and improve it with appropriate help. Marking a parcel fragile does not replace a sound internal support system.
Give the recipient a clear starting point
Send the packing description through the agreed transaction channel and retain the original photographs. The recipient should know where loose components are located and how to lift the supported model. Ask them to keep the packaging until the contents have been checked.
For an unusually fragile, heavy or valuable model, consider professional packing or a carefully planned collection in person. The right decision may be to change the delivery method rather than keep adding layers around an object whose vulnerable parts cannot be protected adequately.