Photographing the underside of a model
Marks on the underside can help document a model, but turning it over may put mirrors, roofs or other fittings at risk. Plan the view before moving the object.
Choose the least disruptive view
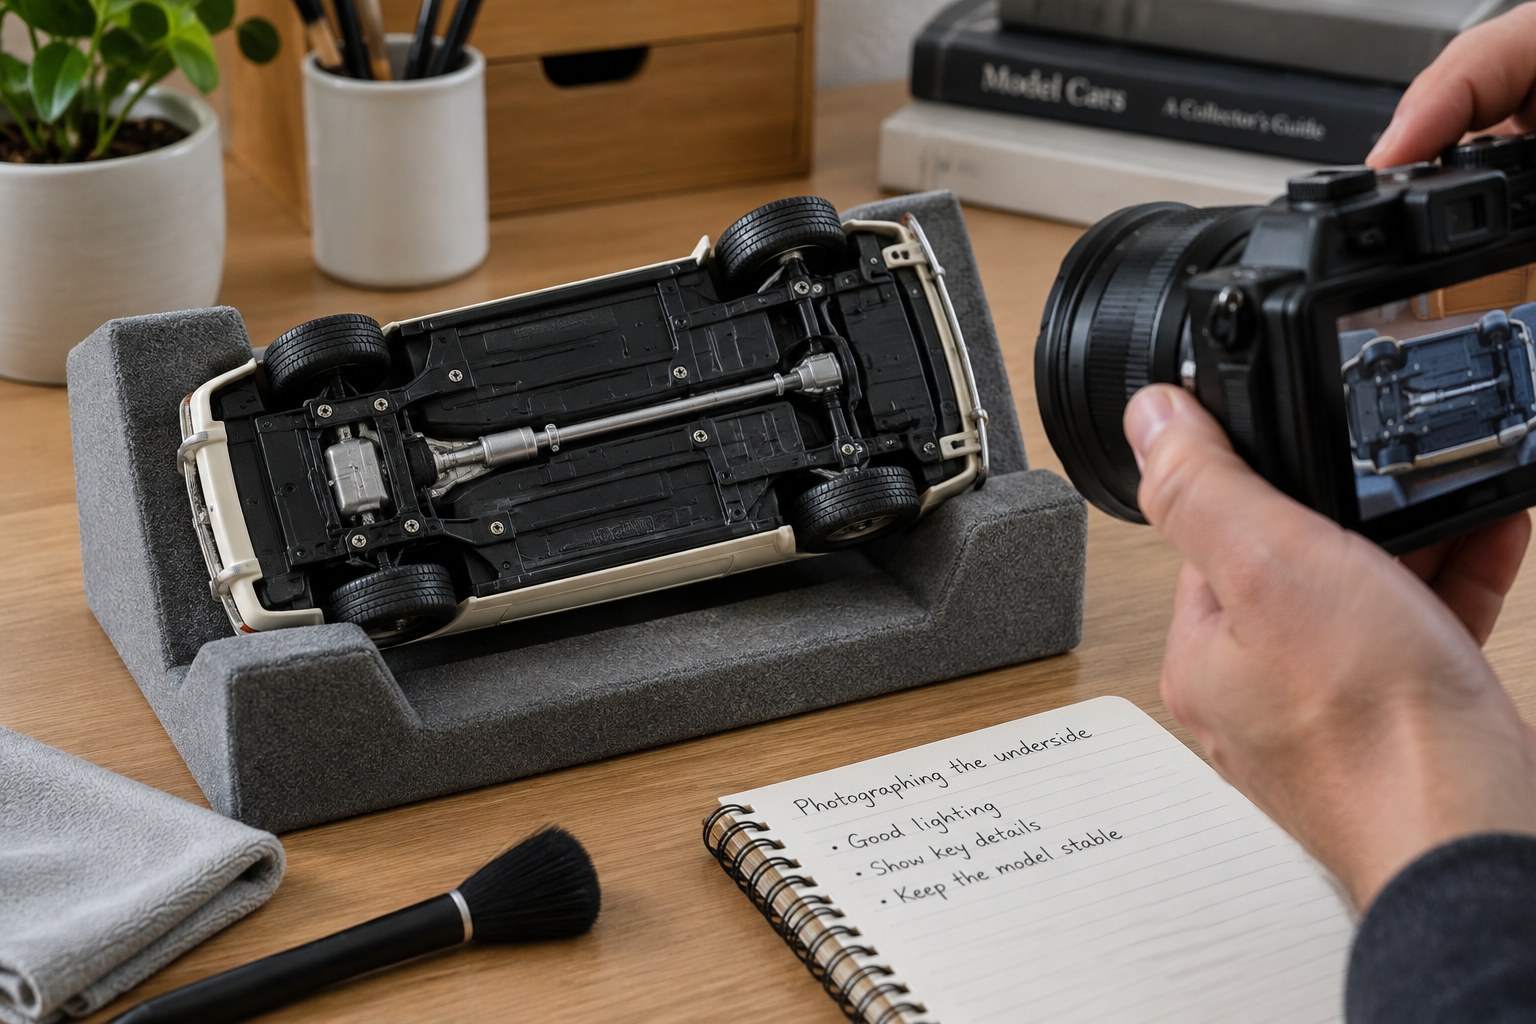
First check whether the underside can be seen while the model remains on its base. A clear base, an accessible edge or a carefully positioned camera may reveal the relevant marking without a full inversion. If a mirror is useful, remember that its image reverses text; retain an unambiguous note or correctly labelled version so the transcription is not confused.
Identify what you need to photograph: maker's mark, reference number, screws, wheel arrangement or a reported defect. A specific aim avoids repeated handling merely to obtain a dramatic underside image. Inspect the model for loose parts before lifting it, and stop if you cannot find a stable way to support it.
Support the model, not its delicate fittings
Follow the maker's handling instructions where available. Do not rest a car on its roof simply because that exposes the base. Mirrors, aerials and decorative parts may take the weight unexpectedly. For a fragile or unfamiliar model, ask a specialist about suitable support rather than constructing a cradle by trial and error.
Arrange the camera and lighting before placing the model in the chosen supported position. Keep the session short and avoid reaching across it to change settings. If the marking cannot be captured safely, record that limitation and use the accessible information. A missing underside photograph is preferable to damage caused while trying to complete a listing.
Keep the image connected to the whole object
Take a contextual view showing where the mark sits, then a closer image if needed. Transcribe exactly what is legible, including punctuation and line breaks where they distinguish references. Mark uncertain characters with a note rather than guessing from another model's label.
Use filenames containing the model's inventory identifier and identify the view as underside. Do not enhance a blurred number until it appears to say what you expected. Keep the original file and any adjusted copy together. When the session is finished, return the model to its normal support and check that no loose accessory remains on the photographic surface.